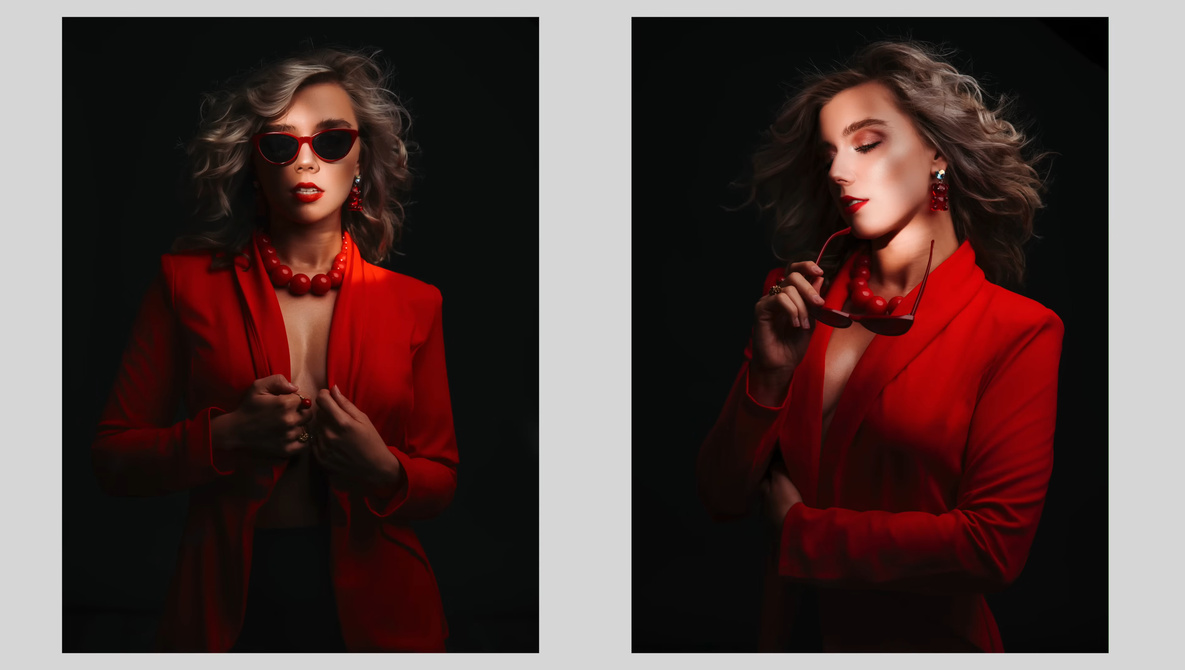
AI selections in Photoshop are past the point of being a novelty, and they now help you move from idea to finished image. When Select Subject works well, you stop fighting clumsy masks and start focusing on color, light, and style instead.
Coming to you from Aaron Nace with Phlearn, this practical video walks through using AI-powered Select Subject as the foundation for fast background changes. You see how a single click can isolate a person from a busy scene, create a layer mask, and clear out the background to transparent in one move. From there, Nace builds a solid color background with a simple fill layer, then drops it beneath the subject so you can instantly test different looks. The tutorial does not stop at the basic cutout, though, because it shows how halos from the original background can ruin an otherwise clean result. Inside Select and Mask, shifting the edge inward slightly and brushing around hair with the refine edge brush tightens the selection so it sits naturally against bold color. By the time the first example is done, you see how AI selection, edge refinement, and a few simple sliders can replace a pile of manual masking steps.
The video then shows how Select Subject becomes more than a background removal trick when you use it to target adjustments. With the subject selected, Nace adds a Brightness/Contrast adjustment layer, and Photoshop automatically loads the selection into the mask so only the person is affected. Raising brightness and easing contrast makes the subject pop from the background in a way that would be tedious with manual brushing. Nace stacks a color and vibrance adjustment on top, using the newer tool that controls temperature, tint, vibrance, and saturation in one place, so you can warm skin tones without touching the rest of the frame. You get a sense of how quickly you can shape mood by chaining a few masked adjustments to a clean AI selection. The interesting part is how this approach lets you keep the original image intact while building a flexible stack of edits you can dial in later.
Later in the lesson, the focus shifts to using gradients and masks to create lighting effects that look like they were done on set rather than in post. Nace starts with another Select Subject, but this time uses the selection to control where a radial gradient shows through, then inverts the mask so a soft glow appears just behind the subject while the rest of the background stays visible. Changing the gradient style, size, and position gives you a fake backlight or color wash that still respects the subject’s outline. A quick blend mode change to something like Linear Dodge makes the glow interact with the background instead of sitting on top of it as a flat graphic. Toward the end, Nace goes a step further and targets clothing color by using Select Subject in combination with the selection brush, trimming the mask away from skin and hands. A hue and saturation adjustment then grabs the jacket color with the eyedropper and slides it into new tones without touching anything else in the frame. The video has more nuanced looks at selection cleanup, color targeting, and creative combinations that build on these core ideas, so check out the video above for the full rundown from Nace.


